IMPORTANT - After performing a restore, ensure all drives are now mounted within the restored pool.
You can restore a pool using the drives connected to the server. When selecting this option, Drive Bender will scan each drive connected and rebuild the pool(s) if any pool-specific information is found.
If you start the Drive Bender Manager, and Drive Bender has detected an existing pool on the drives, you will be automatically prompted to perform a restore.
Once the pool is restored, any drives letters that were attached to drives prior to the restore will remain. To remove the drive letter(s), see mapping and removing driver letters.
NOTE - If you are using v2 or above, the restore pool option is under Pool menu located in the upper left corner of the manager.
1) Open the Drive Bender Manager (or WHS dashboard, and select Pool Management). Select the Pool dashboard tab, then show advanced options.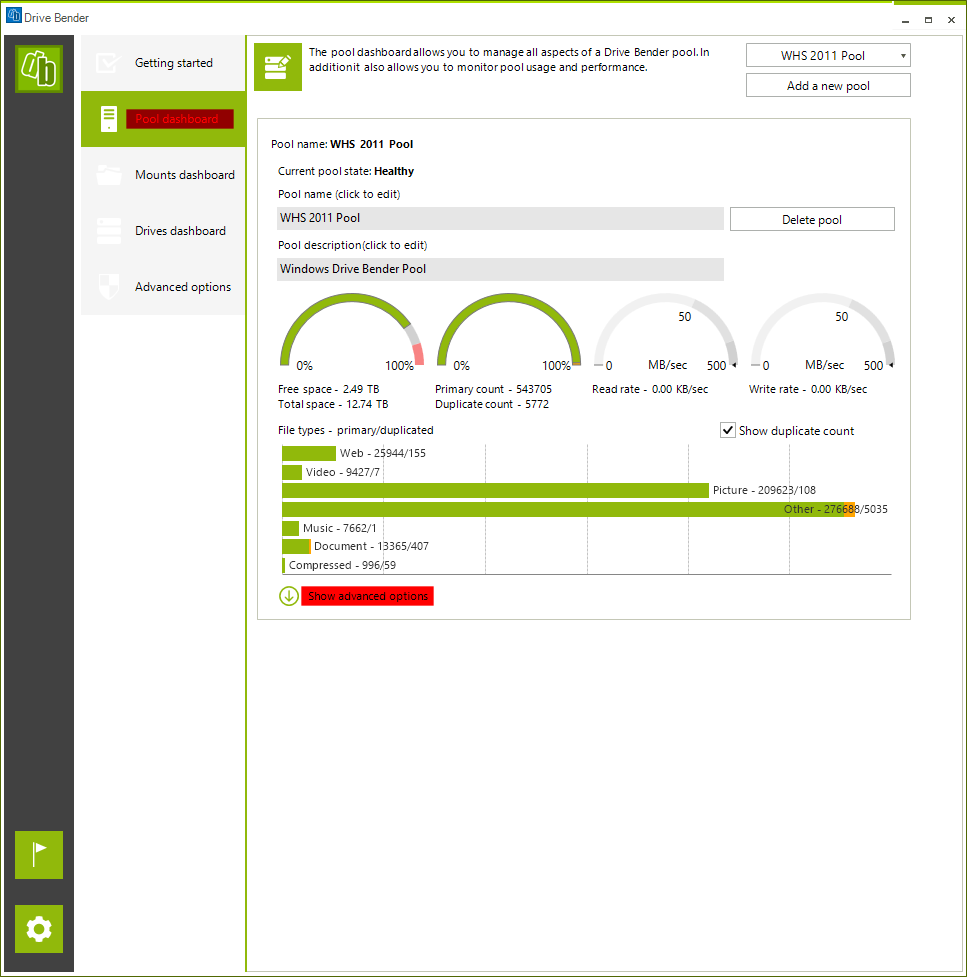
2) Select the "Restore pool" option.
3) The following only applies to v1.8.1.0 and below. Finally select "yes" when asked if you want to delete the existing configuration. Note this does not delete any information from the drives, it simply deletes any existing pool configuration from the registry prior to the restore (selecting no here is not recommend as it can result in multiple pools).
Comments
0 comments
Article is closed for comments.